


Table of contents
We visit web pages every day, files are transferred from one device to another, and tons of downloads are made every second. This is possible due to web servers. The internet wouldn't exist without servers. Setting up a web server from scratch is a tedious process with lots of configurations to be done. Maintenance of these servers also requires tons of expertise and effort.
You can avoid these strenuous steps by hosting your web applications directly from your machine. This means you will be serving application assets from localhost, essentially, turning your machine into a live server.
You will be using LocalXpose to create a reverse proxy server that connects to your machine.
How Do Reverse Proxy Servers Work?
Local servers can be exposed to the internet using a reverse proxy server such as the one provided by LocalXpose. This works by creating a secure connection called a tunnel, between the local server running on your machine and remote servers connected to the internet. This tunnel allows you to expose your local server to the internet without opening any ports on your firewall or doing any server configuration at all.
Once a tunnel connection has been established, LocalXpose provides a public uniform resource link (URL) with which the application can be accessed, just like any other application on the web.
When a user makes a request to the public URL, LocalXpose forwards the request to the local server running on your machine where the request is processed and the appropriate response is returned to LocalXpose which in turn, returns the response to the user.
Getting started with LocalXpose
Head over to LocalXpose and sign up for an account. This gives you access to the services provided by LocalXpose. Once you're signed in, head to the access page from the sidebar and install LocalXpose using the method appropriate for the operating system running on your machine. This downloads the binary file which enables you to connect to and create a tunnel to LocalXpose's servers.
To run the binary file, open a terminal window and ensure it is pointing to the directory the binary file is located in. For instance, if your binary file is located in C:\Program Files\localxpose, your terminal should point to the same directory as indicated below.
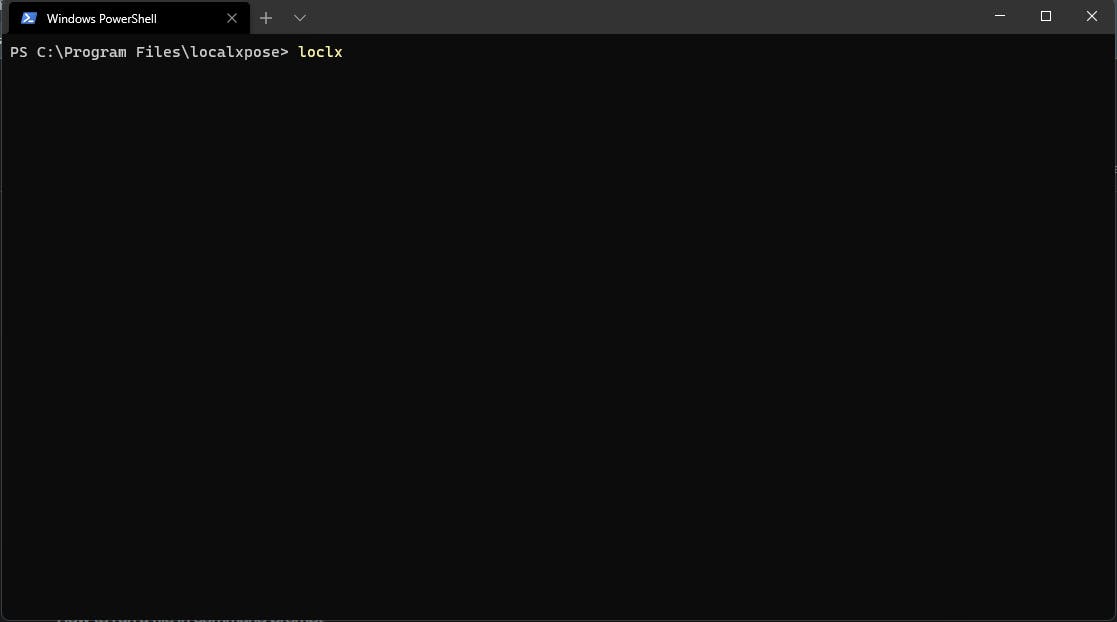
Run the loclx command and you will be redirected to the browser and a page that requires you to sign in with an access token will be displayed.
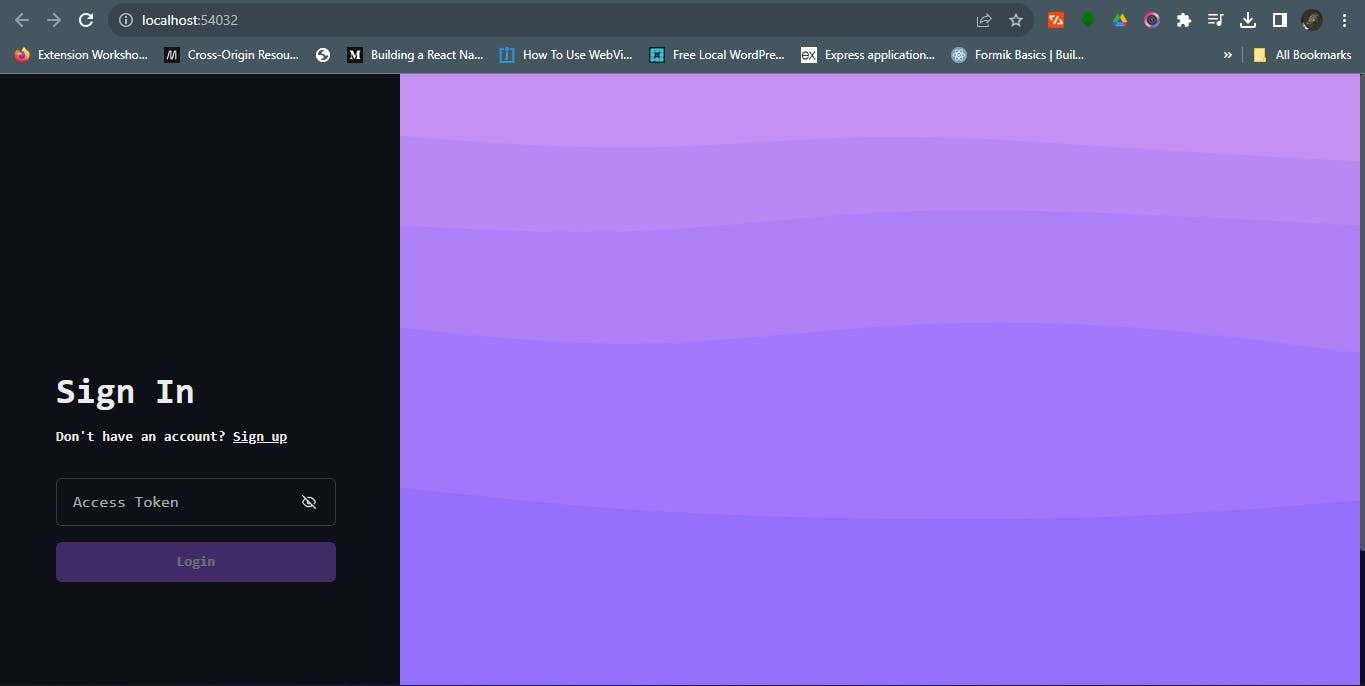
Go back to the access page you downloaded the binary file from, copy the access token, paste it into the sign-in page, and click login.
If you enter a valid access token, you will be redirected to the LocalXpose dashboard.
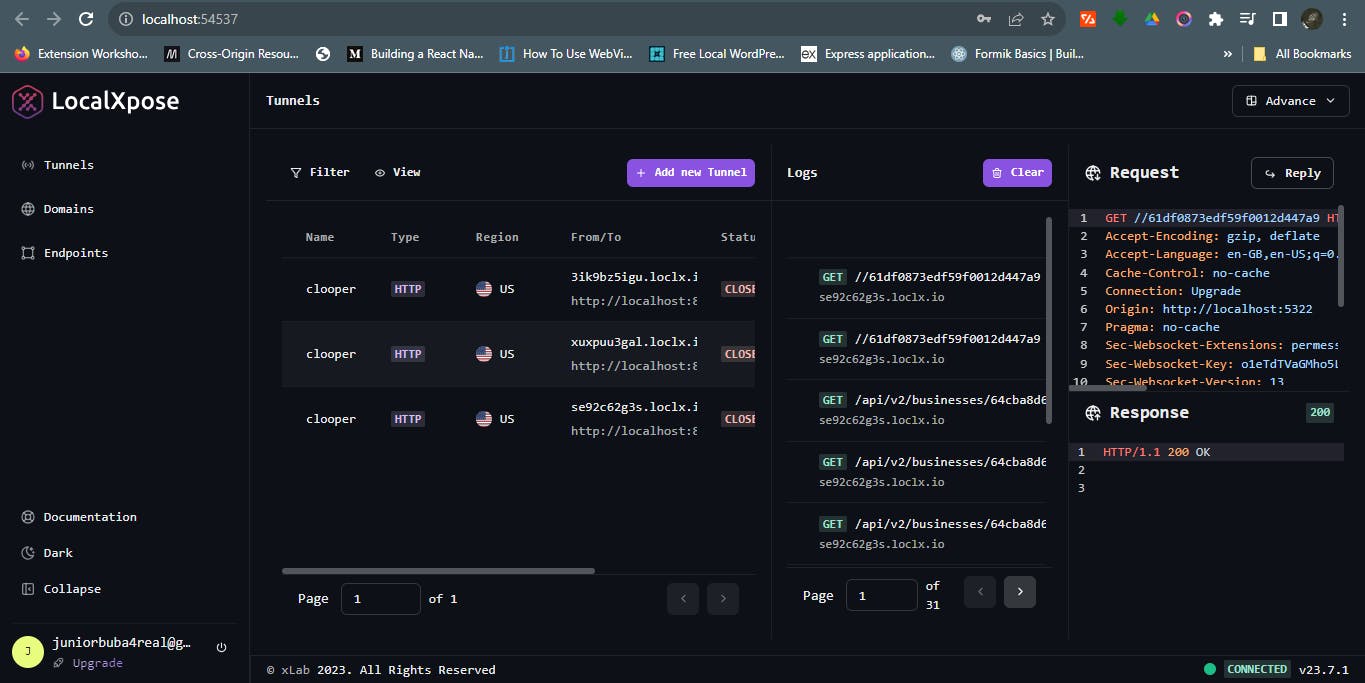
Click on Add new Tunnel.
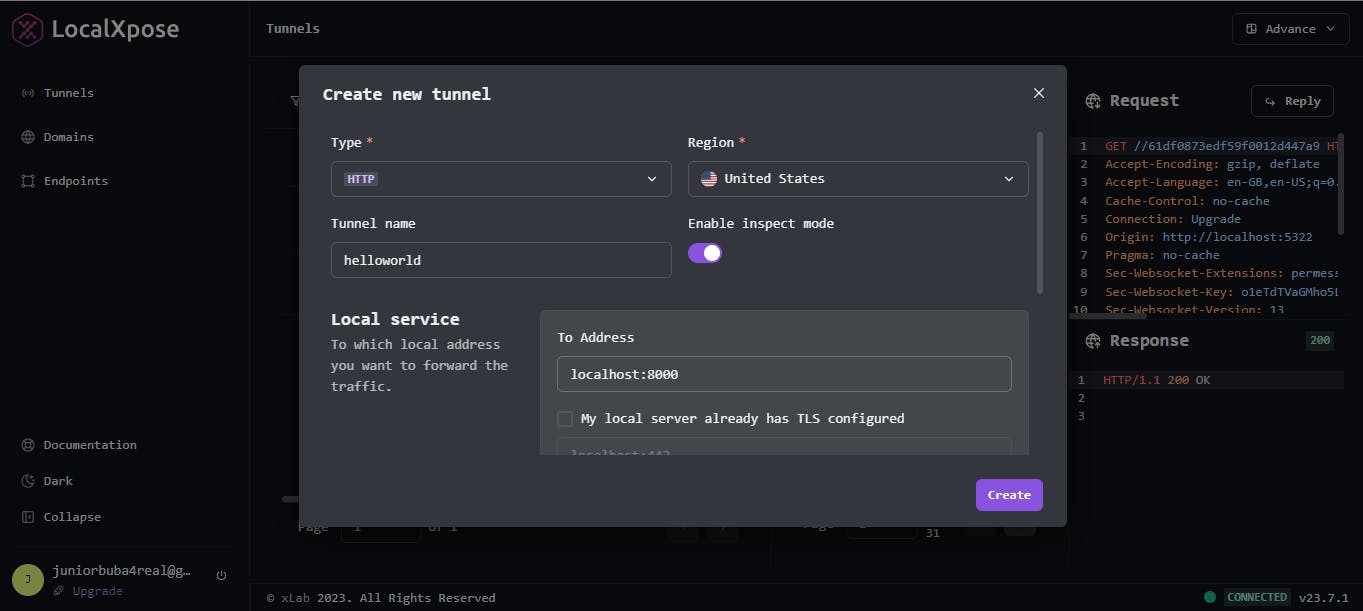
In the pop-up window, you can give your tunnel a name and specify the address the incoming requests will be forwarded to. The address typically looks like localhost:<port-number>. Click the `Create` button and copy the link to the newly created tunnel. This is the link that others can use to access the application running on the port that the tunnel connects to.
You can monitor all the requests coming in through the tunnel on the LocalXpose dashboard.
Reverse proxy engines are useful, especially during the development phase as you can host and preview changes on your web application without deploying to a remote server. Collaborative development is improved as you can share your local web application with remote team members, stakeholders, or clients, enabling them to test the application in a real-world environment. This helps identify issues early and gather feedback efficiently. Local hosting also eliminates the need for paid hosting services during the development and testing phases, potentially saving on hosting costs.